
How to Speed Up or Slow Down Your Audio Files for Free (2026)
By Jeenie | Updated July 2026
Long audio files eat up your time. A 90-minute lecture, a three-hour podcast, a guitar solo you need to learn note by note — they all take patience. The fix is simple: change the playback speed. But if you've ever tried speeding up audio and ended up with a chipmunk-voiced recording, you know the catch.
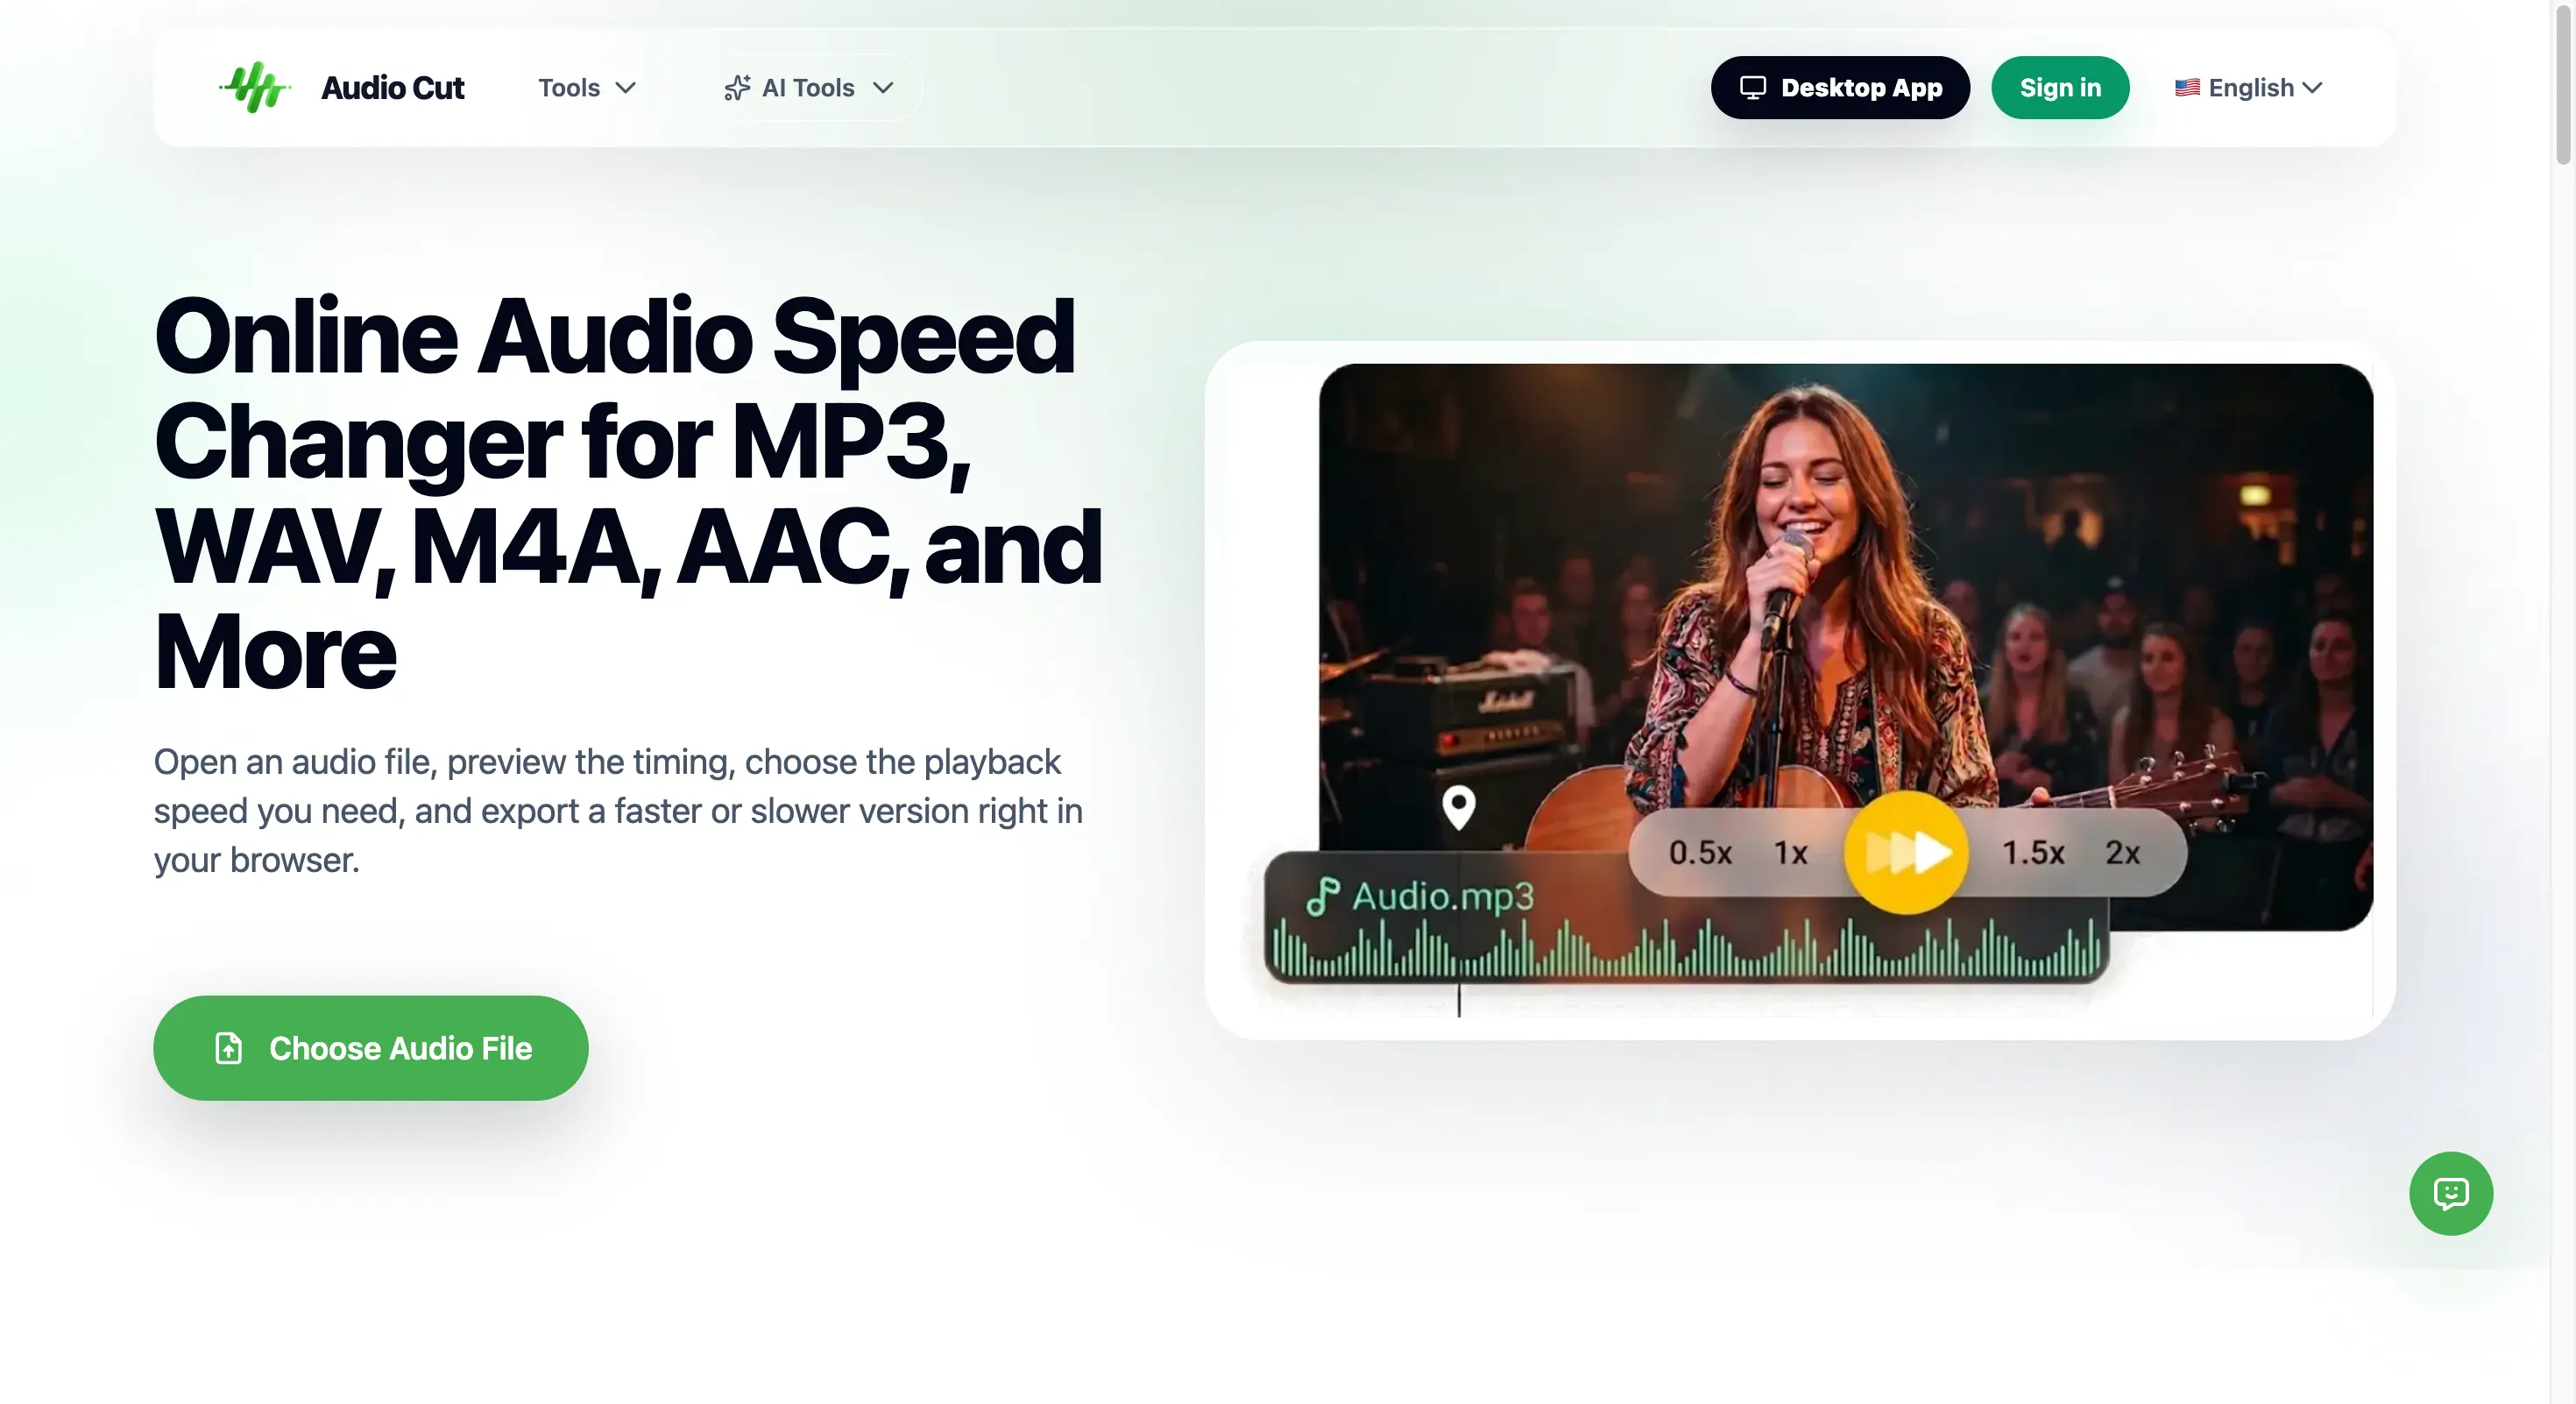
This guide shows you how to speed up or slow down audio files for free, right in your browser, without changing the pitch. You can use AudioCut's audio speed changer feature to do all of the above—no download, no sign-up. You can also continue editing after changing the playback speed.
How to Speed Up an Audio File
Speeding up audio means making it play faster so the file becomes shorter. When you use a tool that preserves pitch, the voices stay natural — just faster.
To speed up an audio file: upload your audio, choose a speed multiplier like 1.5x, preview the result, and export. The entire process takes about 30 seconds in a browser-based tool.
Here's the step-by-step:
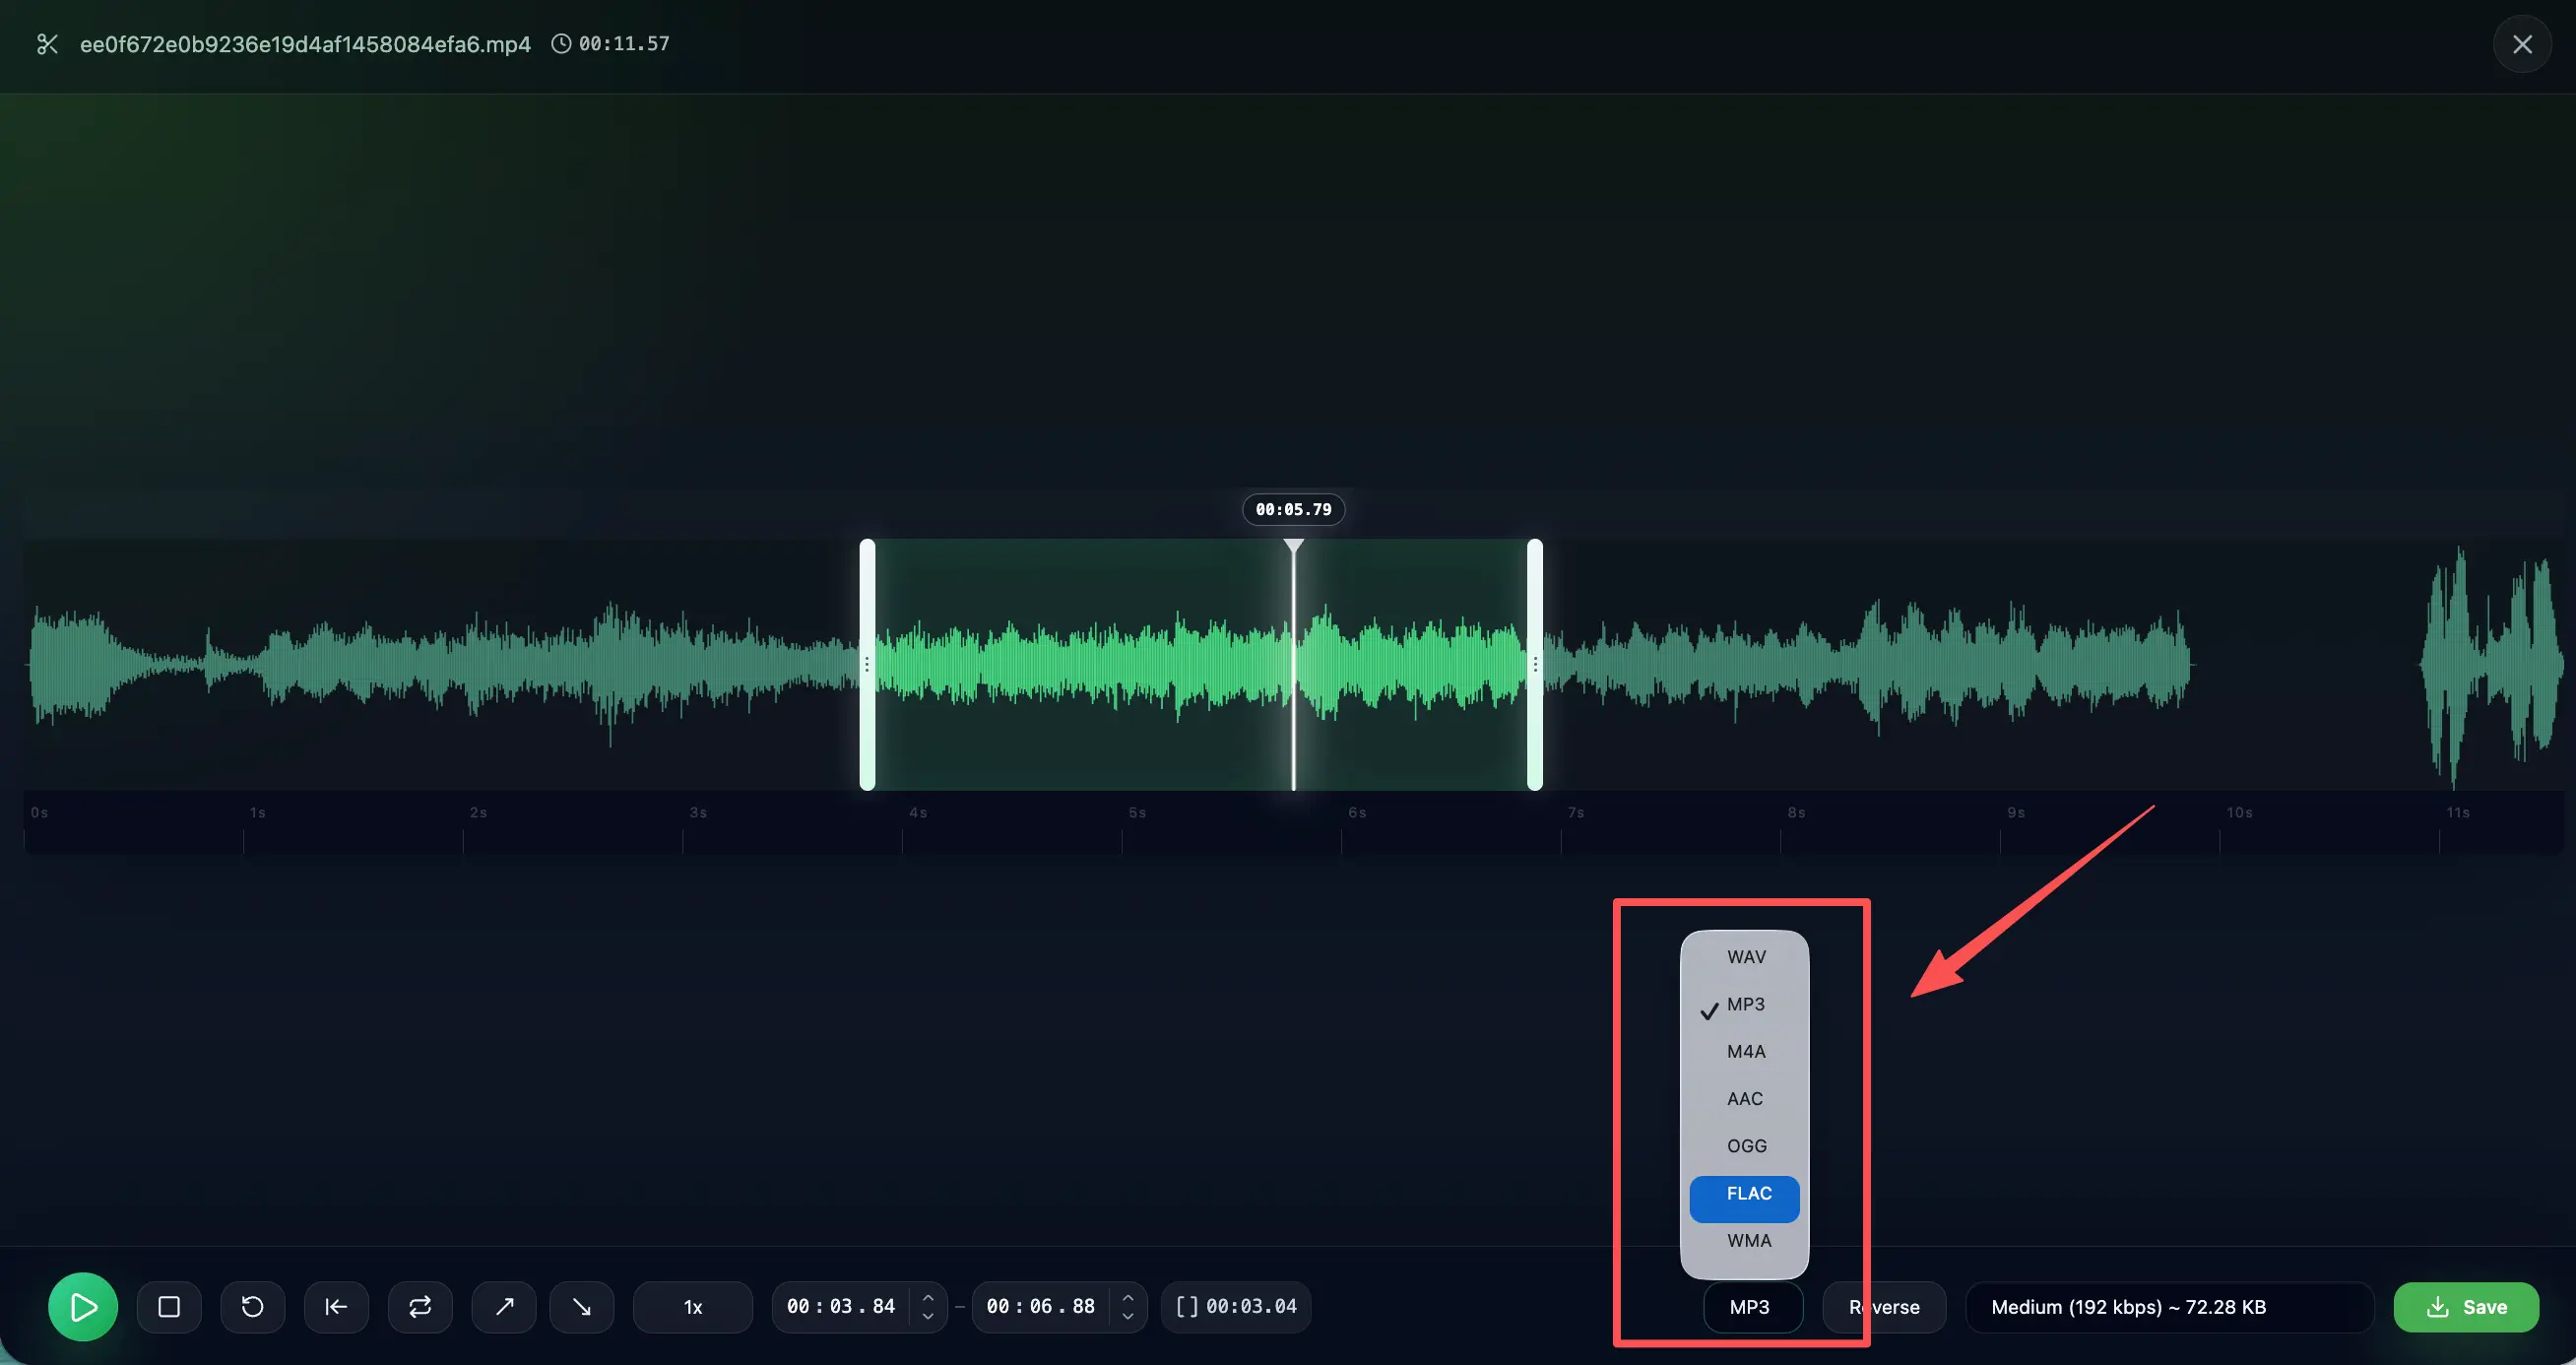
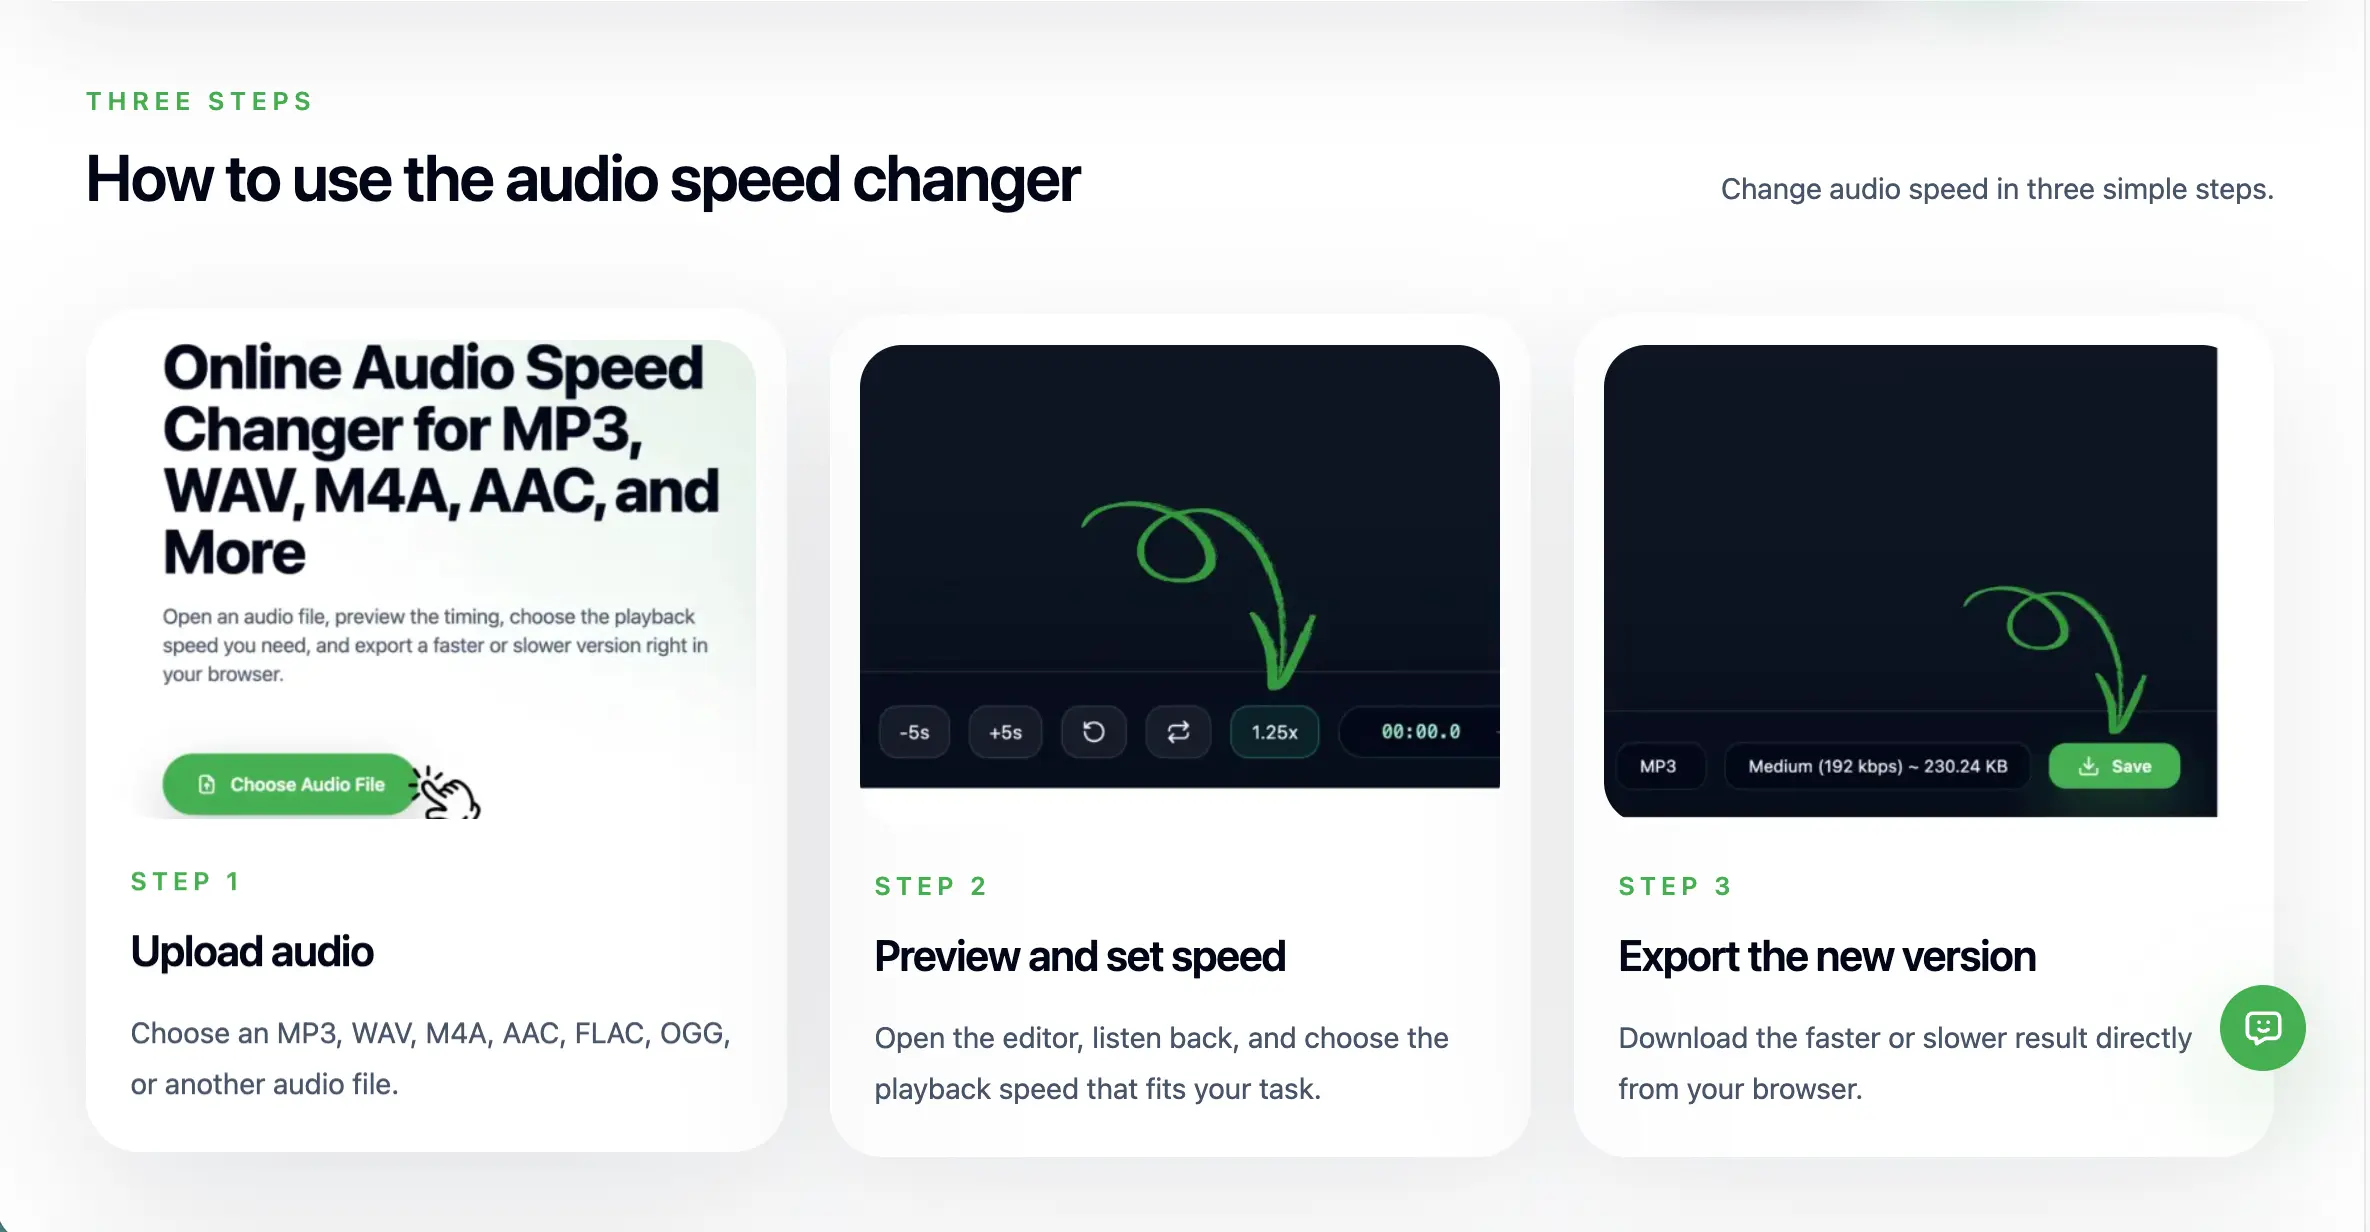
1. Upload your audio file. Drag and drop your MP3, WAV, M4A, AAC, FLAC, or OGG file into the audio speed changer. The editor opens instantly — nothing to download or sign up for.
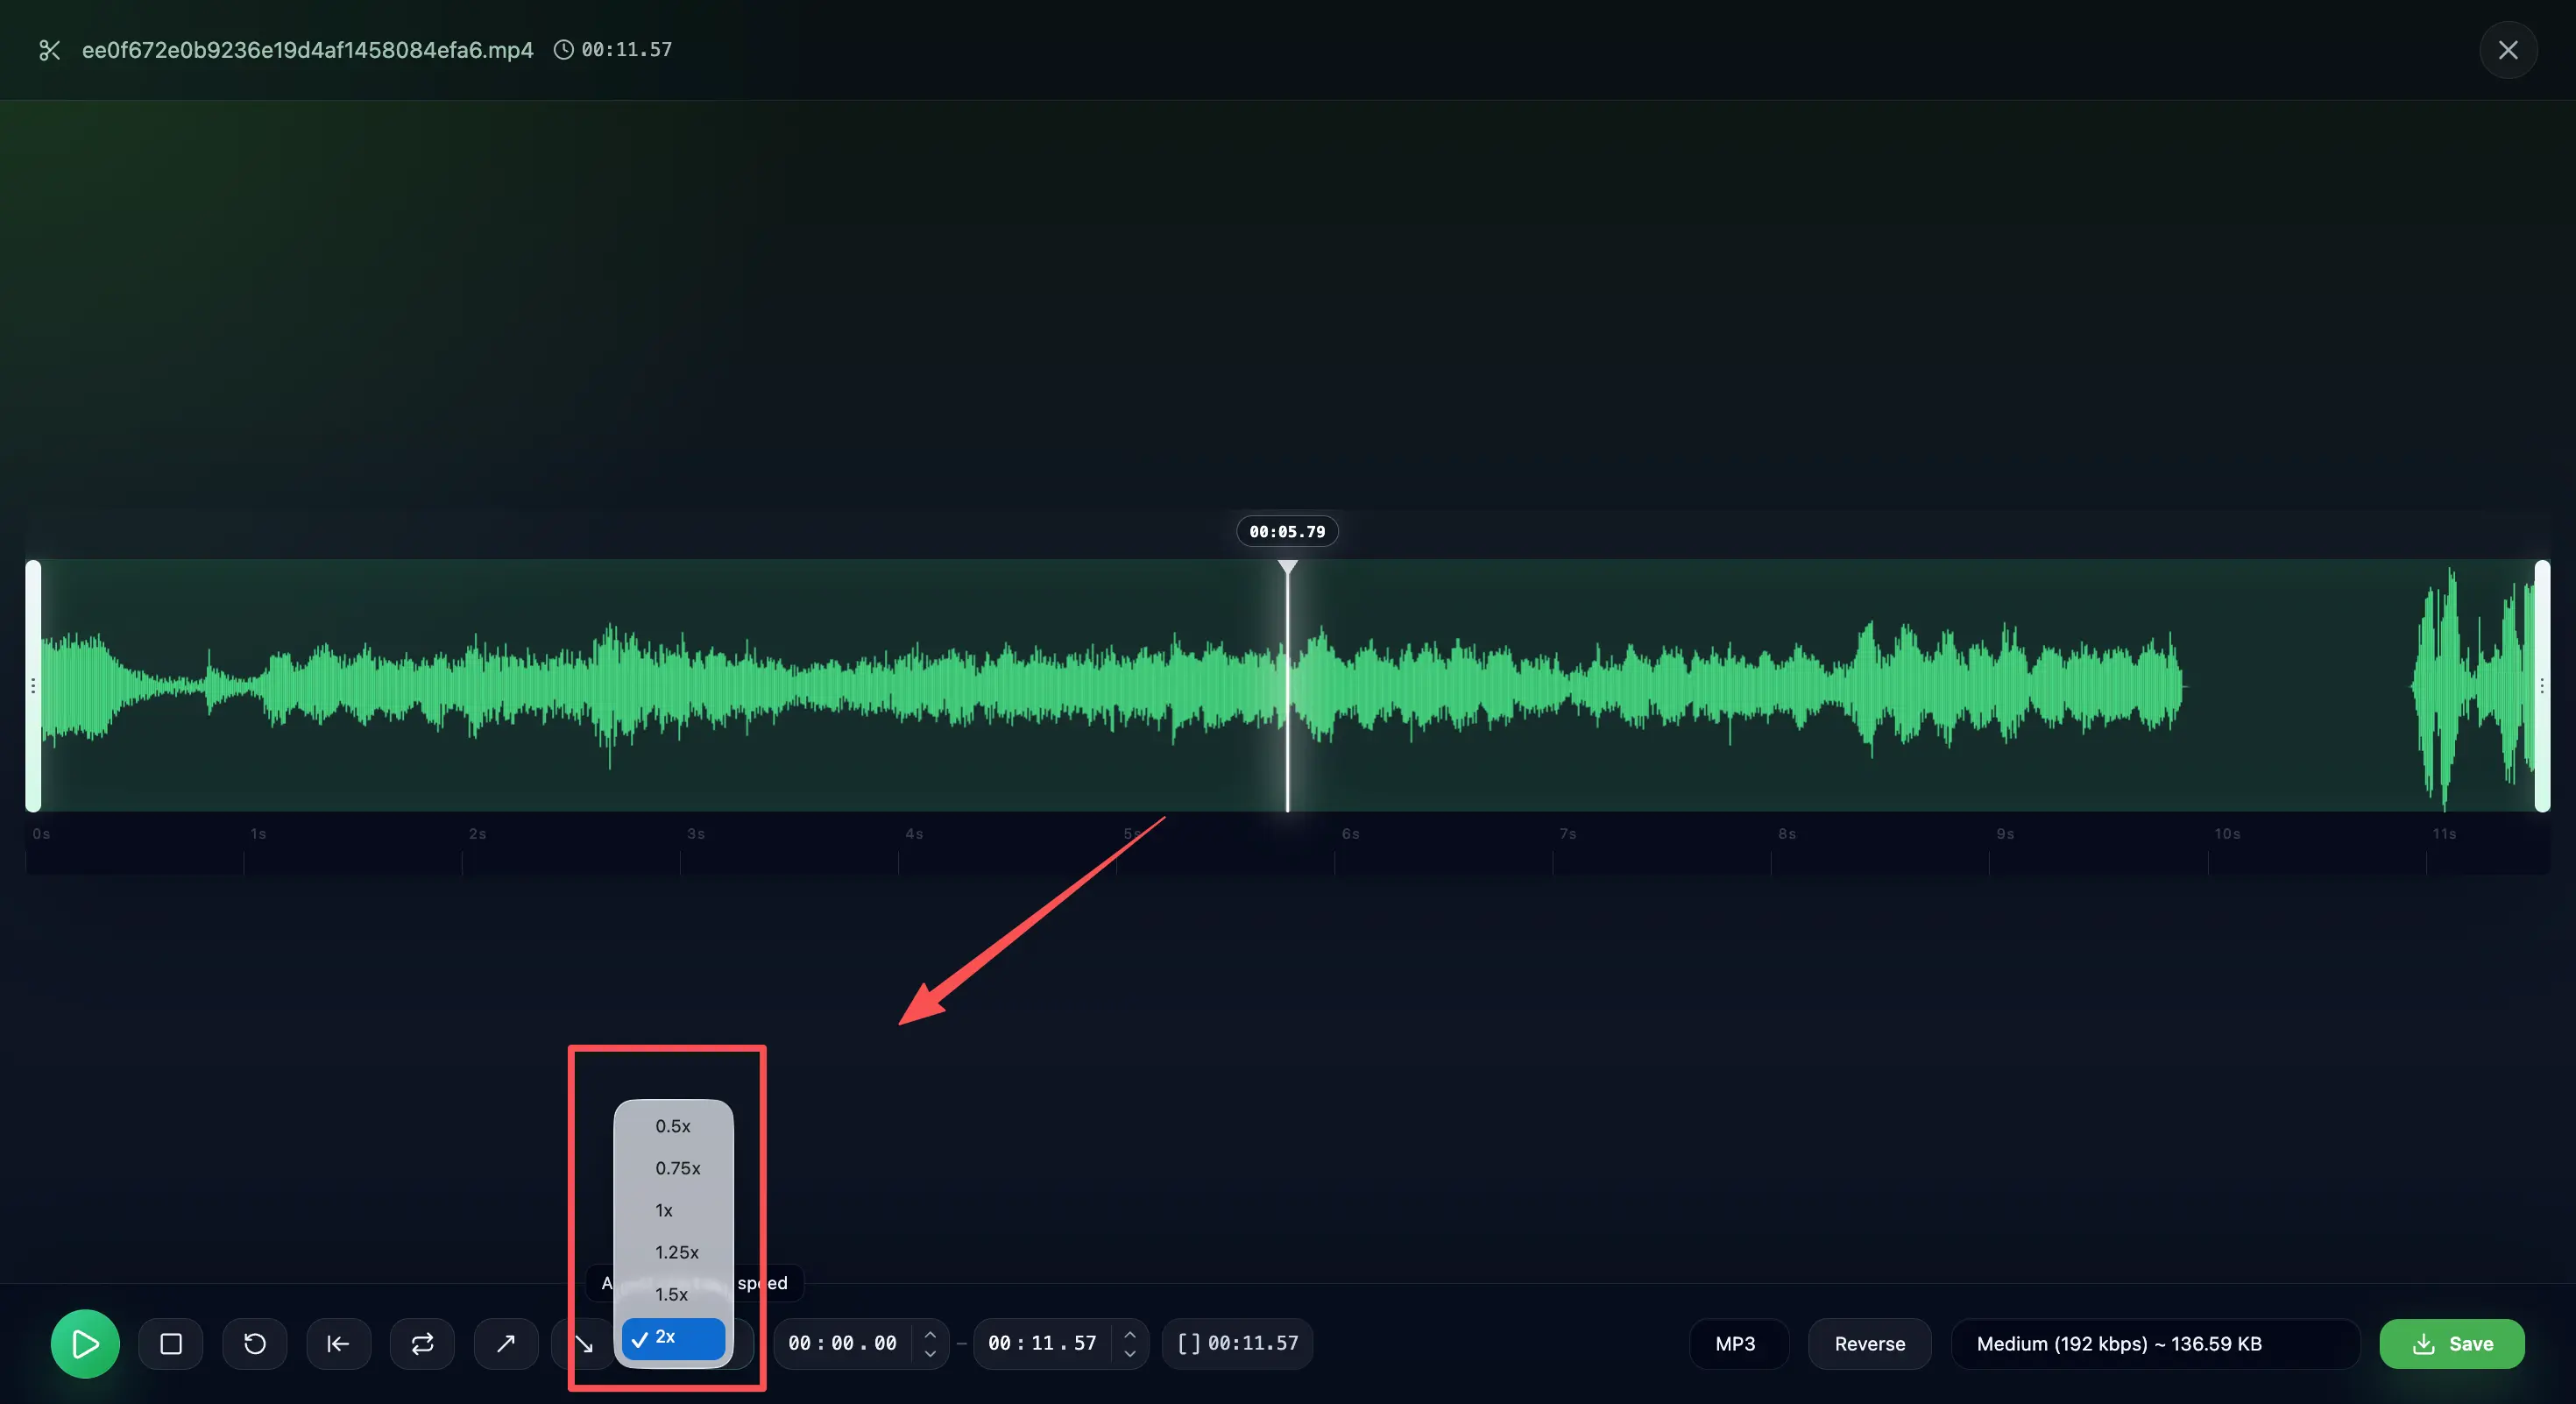
2. Choose your speed. Pick from six built-in presets: 0.5x, 0.75x, 1x, 1.25x, 1.5x, or 2x. For most spoken audio, 1.5x is a good starting point — it saves 33% of the time while keeping speech clear.
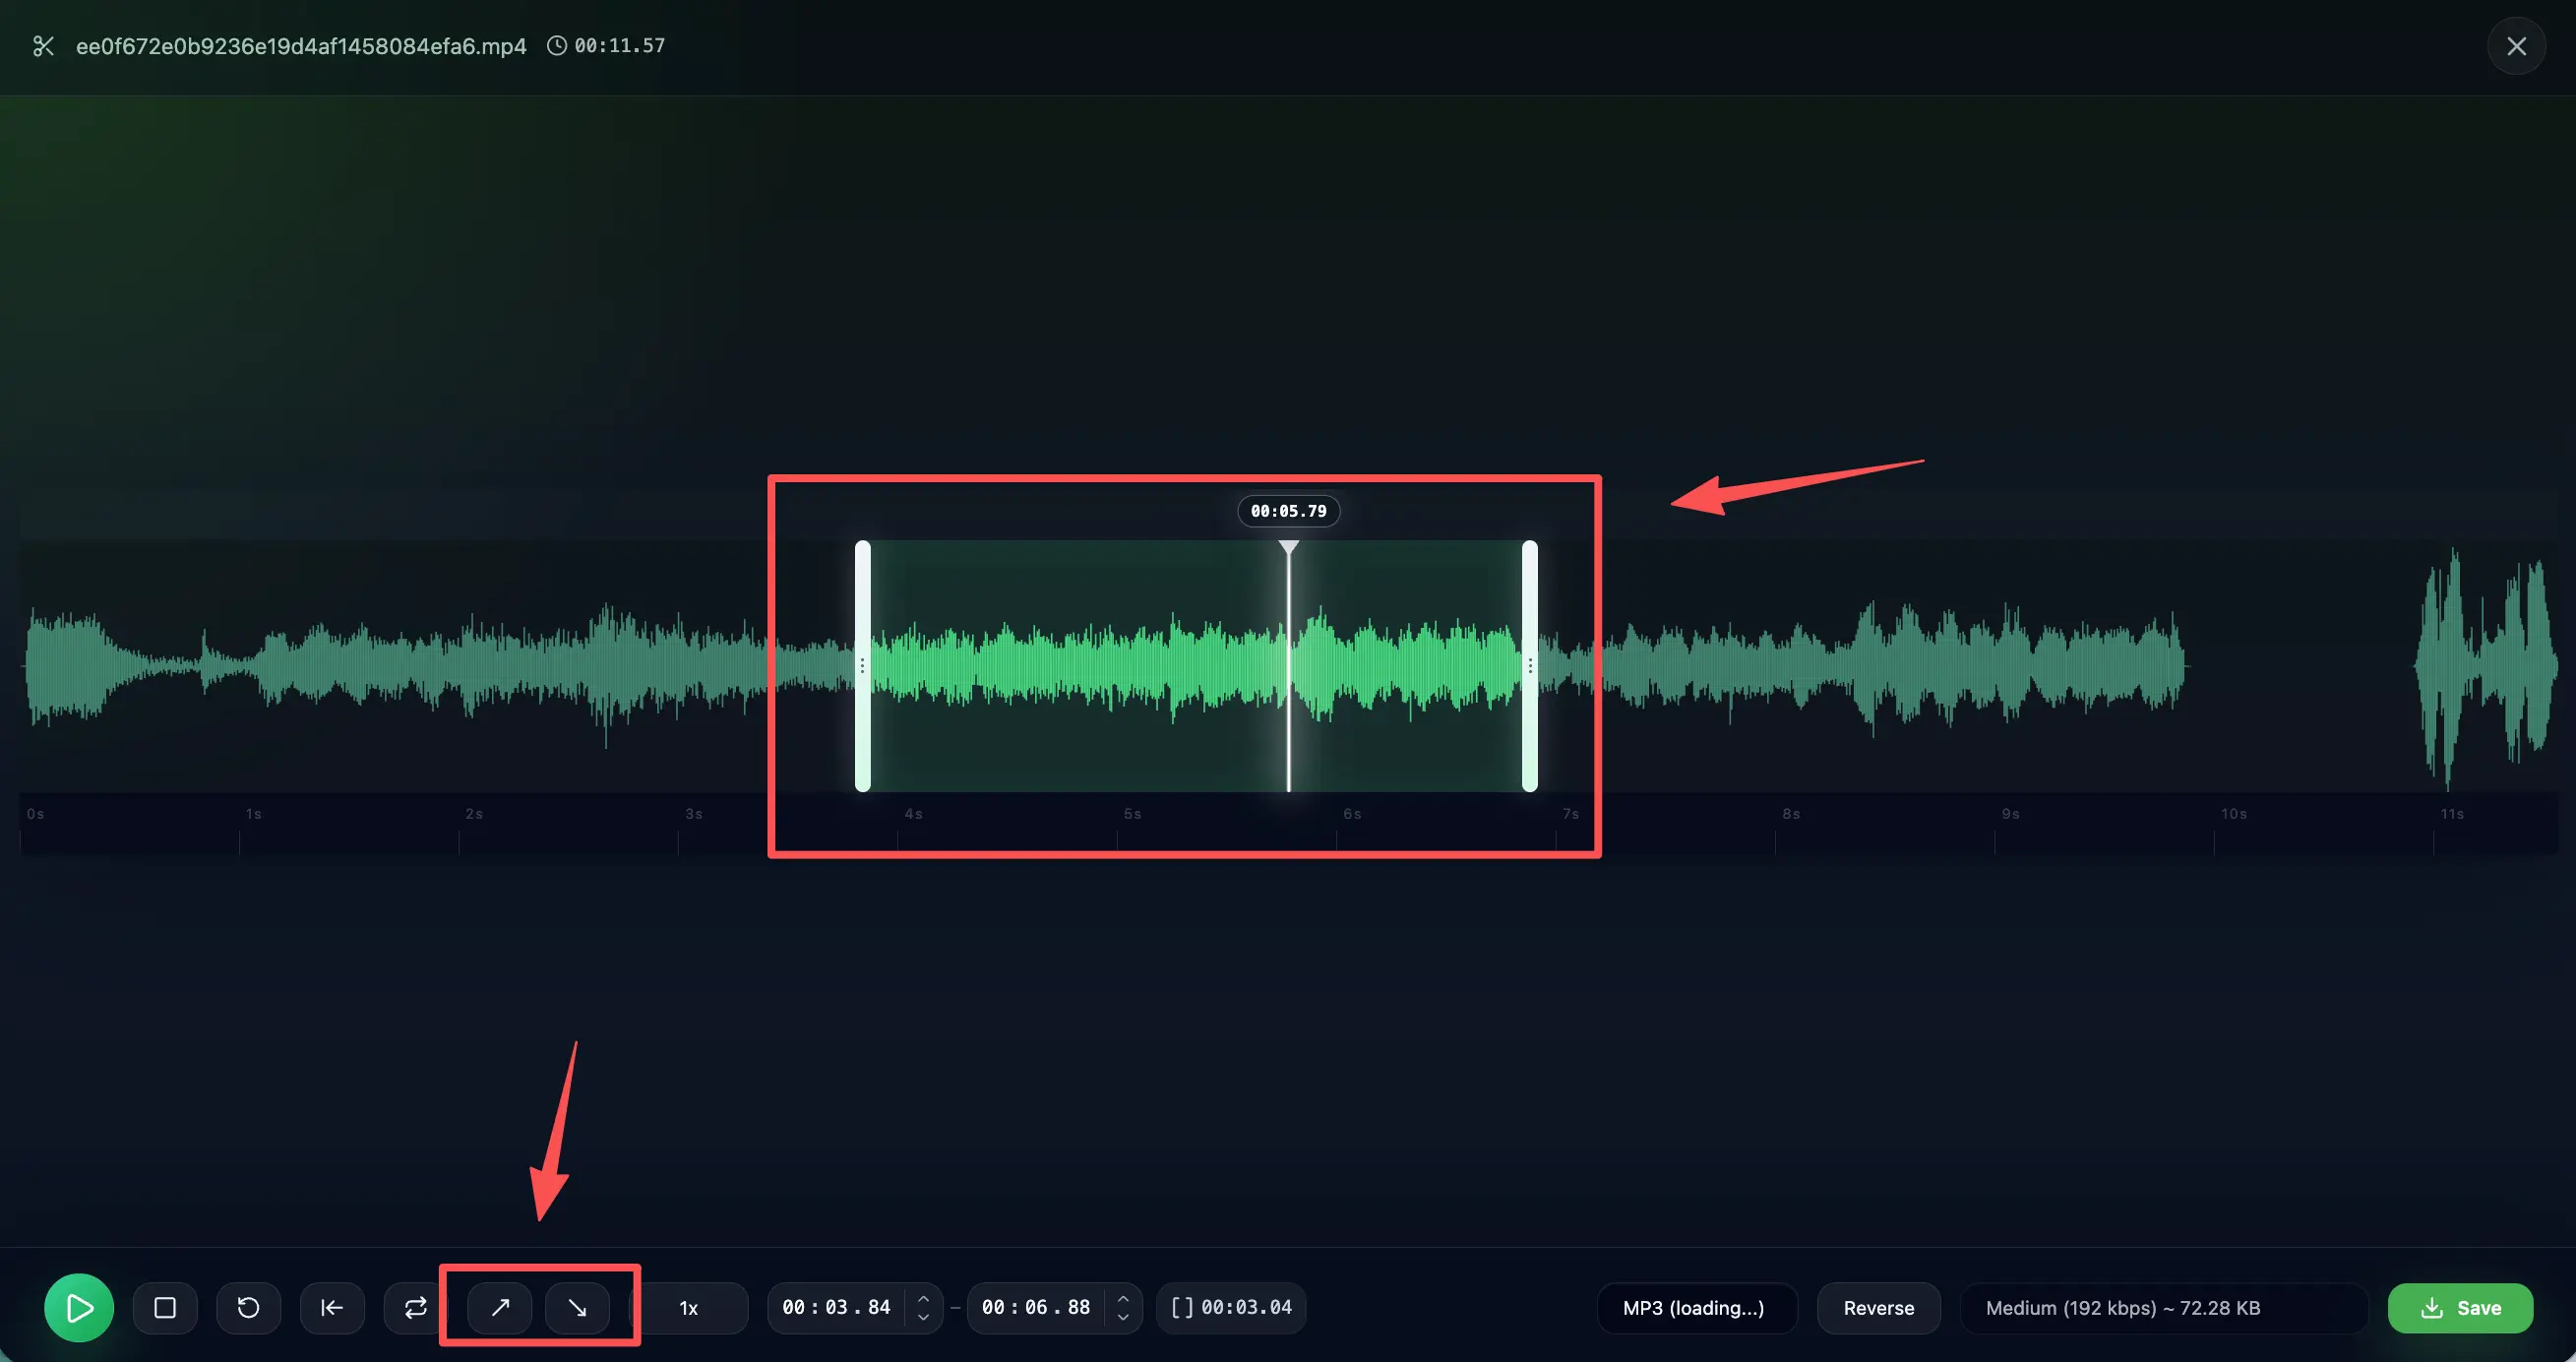
3. Preview the result. Press play and listen. If the audio sounds rushed or words blur together, dial the speed back. If it still feels slow, bump it up. After you've dialed in the right pace, you can also trim away sections you don't need and apply fade in or fade out effects to smooth out transitions between audio segments.
4. Export and download. Once you're happy with the speed, export the file. The downloaded version plays at the new speed permanently — it works in any media player, on any device.
These steps work the same way on a laptop, phone, or desktop. The editor runs in your browser, so iOS Safari, Android Chrome, and desktop browsers are all supported. AudioCut's desktop app is also available if you need to process large files, batch multiple tracks, or work with longer source material.
Desktop software like Audacity and Adobe Audition can do the same time-stretching job, and for detailed multi-track mixing they offer more control than a browser tool. But for a quick speed change, the tradeoffs add up: Audacity has a real learning curve if you haven't used a DAW before — tracks, export settings, and effect chains aren't obvious on a first visit. Adobe Audition requires a Creative Cloud subscription and a full install before you can open a single file. Neither runs on a phone or a locked-down work laptop where installing software isn't an option. A browser-based tool skips all of that — no install, no subscription, and the whole upload-adjust-export cycle finishes in about the time Audacity takes to load.
How to Slow Down Music for Practice
Slowing down audio is just as useful as speeding it up — especially for musicians, dancers, and language learners who need to hear every detail.
To slow down music for practice: upload the track, set the speed to 0.75x or 0.5x, preview, and export. Pitch stays the same, so the song remains in its original key — just slower.
It's the same upload → set speed → preview → export flow covered above, with a few practice-specific adjustments:
- Go slower than you would for speech. Try 0.5x for dense, fast passages or 0.75x for moderate tempo reduction (the same six presets apply: 0.5x, 0.75x, 1x, 1.25x, 1.5x, 2x).
- Preview by playing along, not just listening. If you can already keep up comfortably, nudge the speed back up until the pace actually challenges you.
- The key doesn't change on export. Pitch stays locked to the original recording, so what you download is the same song in the same key — just at a tempo you can actually practice against.
Slowing down helps in several specific scenarios:
- Learning guitar solos and riffs. A fast solo that sounds like a blur at full speed becomes playable at 0.5x. You hear every bend, slide, and pull-off clearly. Once you can play it slowly, gradually increase the speed back to 100%.
- Piano passages. Complex chord progressions and arpeggios are easier to decode when the tempo drops. Slow down to 0.75x first — if it's still too fast, go to 0.5x.
- Vocal practice. Singers learning a difficult run or melisma can slow down the original track to match pitch and timing without the key changing.
- Language pronunciation. If you're learning a language and can't catch what a native speaker says, slowing the audio to 0.75x makes individual words distinguishable while keeping the natural tone of voice.
A practical workflow: Start at 0.5x to learn the part. When you can play it cleanly five times in a row, move to 0.75x. Then try 1.0x. This gradual approach builds muscle memory far better than struggling at full speed from the start.
One thing to watch: below 0.5x, most time-stretching algorithms start producing audible artifacts — a slight echo or metallic quality. If you need slower than 0.5x, accept that the audio won't sound perfectly clean.
How to Change the Speed of Voice Recordings
Voice recordings — podcasts, lectures, meetings, interviews — are the most common type of audio people want to speed up. They tend to be long, and most of the information is in the words, not the tone.
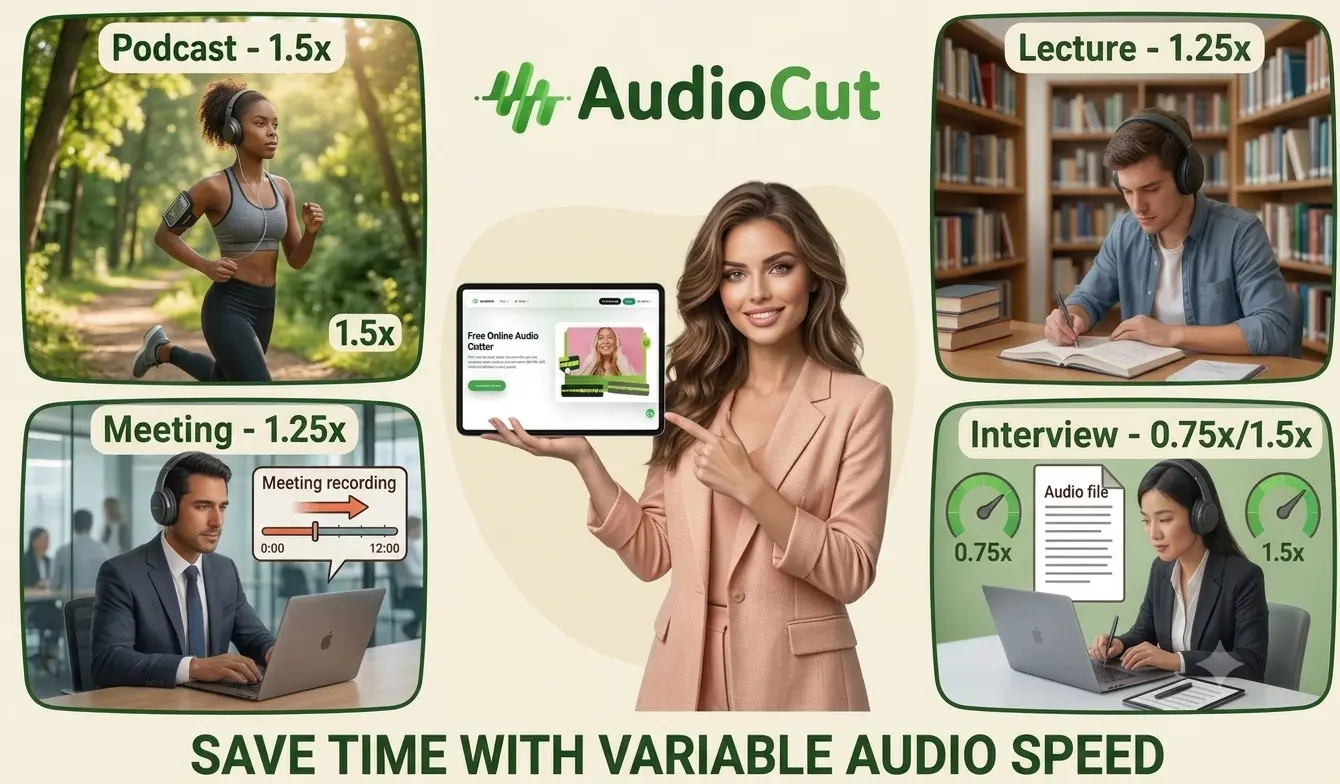
For voice recordings, start at 1.25x and adjust from there. A slow-speaking lecturer might be comfortable at 1.5x, while a fast-talking podcast host might need to stay at 1.25x to remain intelligible.
Different types of voice recordings call for different approaches:
- Podcasts. If you subscribe to several shows, speeding up to 1.5x lets you get through more episodes during a commute or workout. Trim the intro music and ads first with the audio cutter, then speed up the remaining content.
- Lecture recordings. A two-hour lecture sped up to 1.5x becomes 80 minutes. For review sessions before exams, 2x works if you've already heard the material once and just need to refresh.
- Meeting recordings. Long team meetings often contain dead air and tangents. Speeding up the playback helps you skim for action items and decisions without sitting through every pause.
- Interviews. Journalists and researchers transcribing interviews can slow difficult sections to 0.75x to catch every word, then speed up the clear sections for faster review.
- Legal evidence review. Lawyers who need to listen to hours of recorded depositions or call recordings can use 1.25x to get through the material faster, then switch back to 1.0x for passages that require verbatim attention.
The key across all of these: with AudioCut, you can preview a short section before settling on a speed — and if there are parts you don't need, simply trim them out and export what you want.
How to Speed Up or Slow Down Part of an Audio File
Sometimes you don't want to change the speed of an entire file — just a section. Maybe a podcast intro drags but the interview is fine. Maybe a song has one fast solo you need to slow down, but the rest should stay at normal speed.
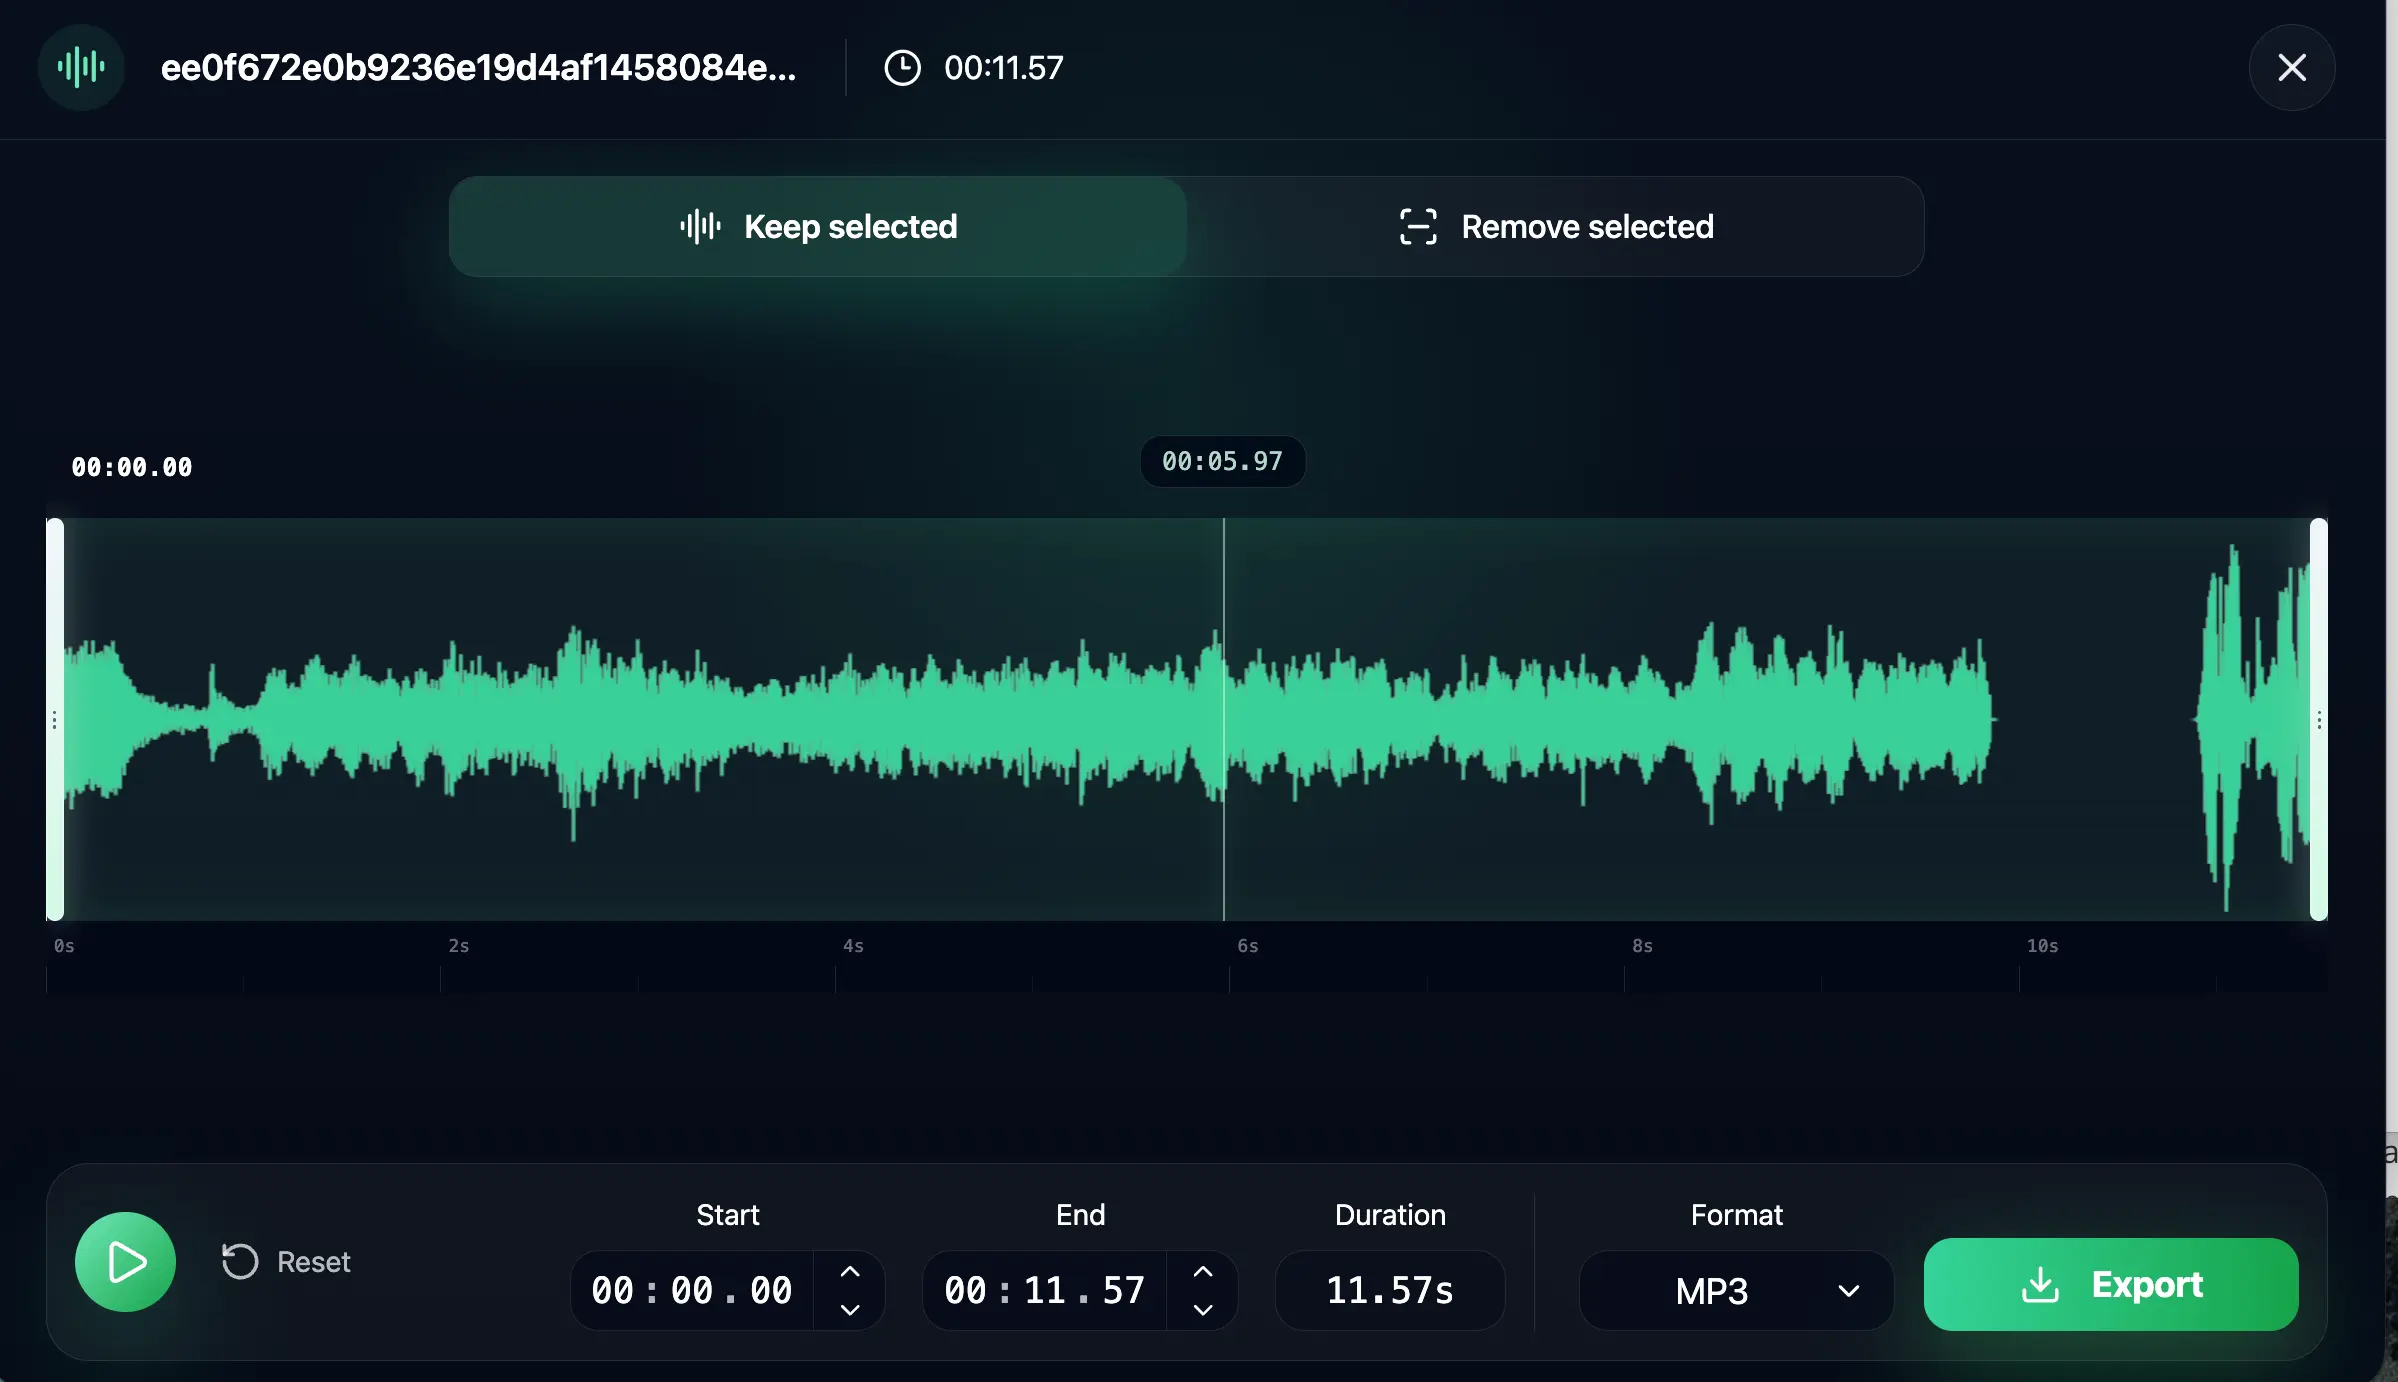
To change the speed of part of an audio file: select the section you want to modify using the waveform editor, apply the speed change to that selection only, then export.
Here's how:
1. Upload your file to the audio speed changer. The waveform editor opens with the full audio track visible.
2. Find the start point. Move the playhead to the timestamp where you want the speed change to begin. This might be the bar before a fast guitar solo, or the moment a podcast intro finally wraps up.
3. Split the audio at the start point. Click the split tool (scissors icon) on the waveform toolbar to cut the track at your playhead position. This separates the section you want to modify from the surrounding audio.
4. Find and split the end point. Move the playhead to where you want the speed edit to end, then click the split tool again. You now have an isolated segment between two cuts.
5. Apply the speed change. Click on the isolated segment, then adjust the speed slider left to slow down or right to speed up. The change applies to this segment only — the rest of the file stays at its original speed.
6. Preview the transitions. Listen to the edit points before and after the modified section. If the speed jump feels abrupt, add a short fade in or fade out to smooth the transition between segments.
7. Export. Download the file. You'll get one continuous audio track where only the targeted section plays at a different speed.
If your goal is to remove unwanted sections entirely — like cutting out ads, long pauses, or mistakes — use the audio cutter first. Trim the fat, then apply speed changes to what remains. This two-step approach gives you cleaner results than trying to do everything at once.
Best Audio Speeds for Podcasts, Lectures, and Learning
You're not alone in wanting to speed up audio. According to the Edison Infinite Dial UK 2026 report, 41% of weekly podcast listeners now use playback speeds above 1.0x — up roughly four percentage points each year since 2022. Pocket Casts' open dashboard shows 1.4x as the median selected speed among its users in 2026. Speeding up audio has gone from a niche trick to a default habit.
But what speed should you actually use? It depends on the content and your familiarity with it:
| Content Type | Recommended Speed | Why |
|---|---|---|
| Podcasts (new content) | 1.25x – 1.5x | Comfortable for most speakers; saves 20–33% of time |
| Podcasts (familiar show) | 1.5x | You know the hosts' style; can handle faster |
| Lecture recordings (first listen) | 1.25x – 1.5x | Need to absorb new information |
| Lecture recordings (review) | 2x | Already familiar; just refreshing |
| Audiobooks | 1.25x – 1.5x | Narrators are usually clear; 1.5x is the sweet spot |
| Music practice | 0.5x – 0.75x | Need to hear every note clearly |
| Transcription | 0.75x | Slow enough to type along, fast enough to maintain flow |
| Skimming / quick review | 2x | Get the gist; don't expect to catch every detail |
General rule of thumb: Start at 1.25x for content you care about, 1.5x for content you're skimming, and 2x only for material you've already heard. If you find yourself losing focus or rewinding frequently, the speed is too high — drop it back a notch.
Why Does Audio Sound Different at Extreme Speeds?
If you've ever sped up audio and noticed it sounding unnatural — metallic, echoey, or choppy — you've hit the limits of time stretching.
Speed and pitch are different audio properties. Speed controls how fast audio plays (duration). Pitch controls how high or low it sounds (frequency). When you change speed the old-fashioned way — by resampling — both change together. Speed up, and the pitch rises, creating the classic "chipmunk effect." Slow down, and you get a deep, slow-motion voice.
Time stretching solves this. The technique changes playback duration while preserving frequency. The tool analyzes the audio waveform and adds or removes tiny overlapping segments to adjust the timing without altering the pitch. This is why a podcast sped up to 1.5x still sounds like the same person talking — just faster, not higher.
Time stretching works well within a moderate range:
- 0.75x to 1.5x: Nearly imperceptible artifacts. The audio sounds natural.
- 1.5x to 2.0x: Acceptable for speech. You may notice slight processing on music.
- Below 0.5x or above 2.0x: Artifacts become audible — echo, metallic tones, or choppy transitions. The algorithm is being pushed past its comfort zone.
This is why previewing before export matters so much. A speed that works beautifully for a slow-speaking lecturer might sound terrible on a dense music track. Speech is generally more forgiving than music because the human ear is very sensitive to pitch changes in instruments and harmonics.
One common mistake: confusing "change speed" with "change tempo." In some audio tools, "change speed" alters both speed and pitch together (resampling), while "change tempo" or "time stretch" preserves pitch. AudioCut handles this automatically — every speed change preserves pitch by default — but if you're using other software, check which mode is active.
Frequently Asked Questions
Quick answers to common questions about changing audio speed. For detailed step-by-step instructions, see the sections above.
How do I speed up audio without changing the pitch?
Use a tool that supports time stretching — AudioCut, Audacity (Change Tempo effect), and Adobe Audition (Stretch and Pitch effect) all do this. In AudioCut, just upload your file, select a speed like 1.5x, and pitch preservation is on by default — you don't need to change any settings.
What's the maximum file size I can upload?
There's no size limit — you can upload anything from a short clip to a multi-hour recording. Processing time depends on the file length, but AudioCut handles large files without restricting the upload.
What's the best speed for listening to podcasts?
For most podcasts, 1.25x to 1.5x is the sweet spot. At 1.5x, you save a third of the listening time while keeping speech clear. Start at 1.25x and step up gradually — fast-talking hosts may need 1.25x, while slower speakers can handle 2x.
Can I change audio speed on my phone?
Yes. AudioCut's audio speed changer runs in mobile browsers — iOS Safari and Android Chrome both work. Upload from your phone's file manager, choose your speed, preview, and download the result directly to your device.
Can I speed up audio from a video file?
Yes. First, extract the audio from your video, then speed it up. Some tools accept video files directly and work with the audio track. This is useful for creating shorter versions of lecture recordings or trimming video audio for social media clips.
Is it free to speed up audio online?
Yes — you can try AudioCut's audio speed changer for free. New accounts get 30 welcome credits (about 30 exports), and signing in adds 7 more credits per export. Paid plans unlock higher usage limits and batch processing for heavier workflows.
Conclusion
A 90-minute lecture shrinks to 60 minutes at 1.5x. A guitar solo that blurs at full speed becomes learnable at 0.5x. Whether you're speeding up a podcast, slowing down music, or trimming a lecture to just the important parts, the process is the same: upload, select speed, preview, export.
A few things to remember:
- Start at 1.25x or 1.5x for spoken content. Go higher only if you're reviewing familiar material.
- Always preview before exporting. What sounds fine in your head might sound rushed in reality.
- Trim first when possible. Cutting out silence and filler before speeding up makes the result tighter and more useful.
- Stay within 0.5x–2.0x for clean results. Beyond that, artifacts appear.
Ready to change your audio speed? Open the AudioCut audio speed changer and get started — it's free, works in your browser, and takes about 30 seconds.